How To Make A Laser Light Security Alarm System best school project 547 Circuit Diagram In this video, I show you how to assemble a LASER Light Based Security System as in SPY movies. I used some common electronic components. Perfect for beginne

This is a really simple component that's wont to make simple sounds with Arduino. you could not play an MP3 with it but it's just fine for an alarm . You can, of course, use any buzzer that's available, the goal is to only make a sound.

Easy Arduino Laser Tripwire Security System! Circuit Diagram
This system uses a laser beam and an LDR sensor to detect any changes in the light level and triggers an alarm if someone enters the protected area and interrupts the laser beam. With the ability to adjust the threshold value and customize the system to fit specific needs, this type of security system can provide reliable protection for homes Laser based Security System is a type of security and alarm system that uses laser light and a light sensor. A security system protects our homes, offices, banks, lockers etc. from intrusion and unauthorised access. In this project, we have designed a simple DIY lased based security system, which acts as a tripwire like security system and Lastly hot glue the buzzer, you can still add additional features like adding a home so this project resembles a house gate security. To make this project work all you have to do is switch on the laser light first. Now via USB cable connect power to the nano, the laser light falling on the LDR shows that the security system is active.

How to Make a Simple Laser Light Security System video shows a laser project with easy steps and simple electronic components for home laser security.You can
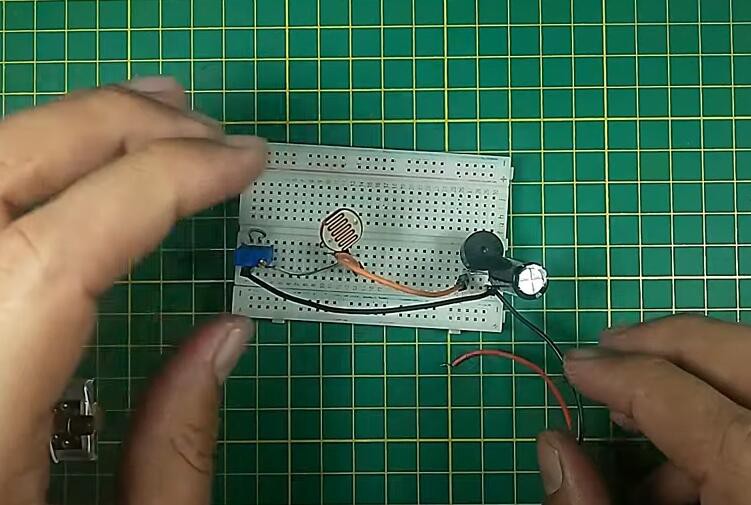
How to make a simple Laser Security System Circuit Diagram
In this tutorial I will be teaching you how you can build your own Laser Tripwire Security System at home! You will need the following components and materials: LED light ; Laser Module ; Laser Sensor Module ; Speaker or Piezo Buzzer ; 2 Small Breadboards with sticky tape on the back ; Arduino ; Breadboard wires ; USB Cable (to program the Arduino)
